Indoor Playground Space Planning Guide: Design a Safe, Fun & Profitable Space
Designing an indoor playground is more than just filling a room with slides and foam blocks—it’s about creating a space that’s safe for kids, engaging for families, and practical for your business. Whether you’re opening a new indoor play center, renovating an existing space, or even designing a home play area, effective space planning is the foundation of success. This comprehensive indoor playground space planning guide will walk you through every step, from assessing your space to finalizing the layout, so you can create a space that checks all the boxes.
Before you dive into colors, themes, or equipment choices, take the time to plan strategically. Poor space planning can lead to overcrowding, safety hazards, frustrated customers, and even lost revenue. But with the right approach, you can design an indoor playground that’s both functional and inviting—for kids and parents alike.
Step 1: Assess Your Space & Define Your Goals
The first step in any indoor playground space planning process is to understand your available space and what you want to achieve. Skipping this step can lead to costly mistakes, like choosing equipment that’s too large or misplacing zones that create bottlenecks.
Measure Your Space Accurately
Start by taking precise measurements of your indoor area—length, width, height, and any irregularities (like columns, windows, or doorways). Note the location of electrical outlets, HVAC vents, and emergency exits, as these will impact where you can place equipment. For commercial indoor playgrounds, you’ll also need to account for non-play areas, such as reception, seating for parents, restrooms, and storage. A common mistake is underestimating the space needed for these auxiliary areas—aim to allocate 20–30% of your total space to non-play zones for a comfortable experience.
Define Your Target Audience & Goals
Who is your indoor playground for? Are you targeting toddlers (0–3 years), young kids (4–6 years), older kids (7–12 years), or a mix? Your target age group will dictate everything from equipment size to zone design. For example, a toddler-focused play area needs softer padding, lower slides, and smaller climbing structures, while an older kid zone can include more challenging obstacles and higher slides.
Also, clarify your goals: Are you creating a commercial space to generate revenue? A community space for families? A home play area for your own kids? Commercial spaces will need to prioritize flow, capacity, and profitability, while home spaces can focus on safety and personalization. Knowing your goals will help you make decisions about layout, equipment, and budget.
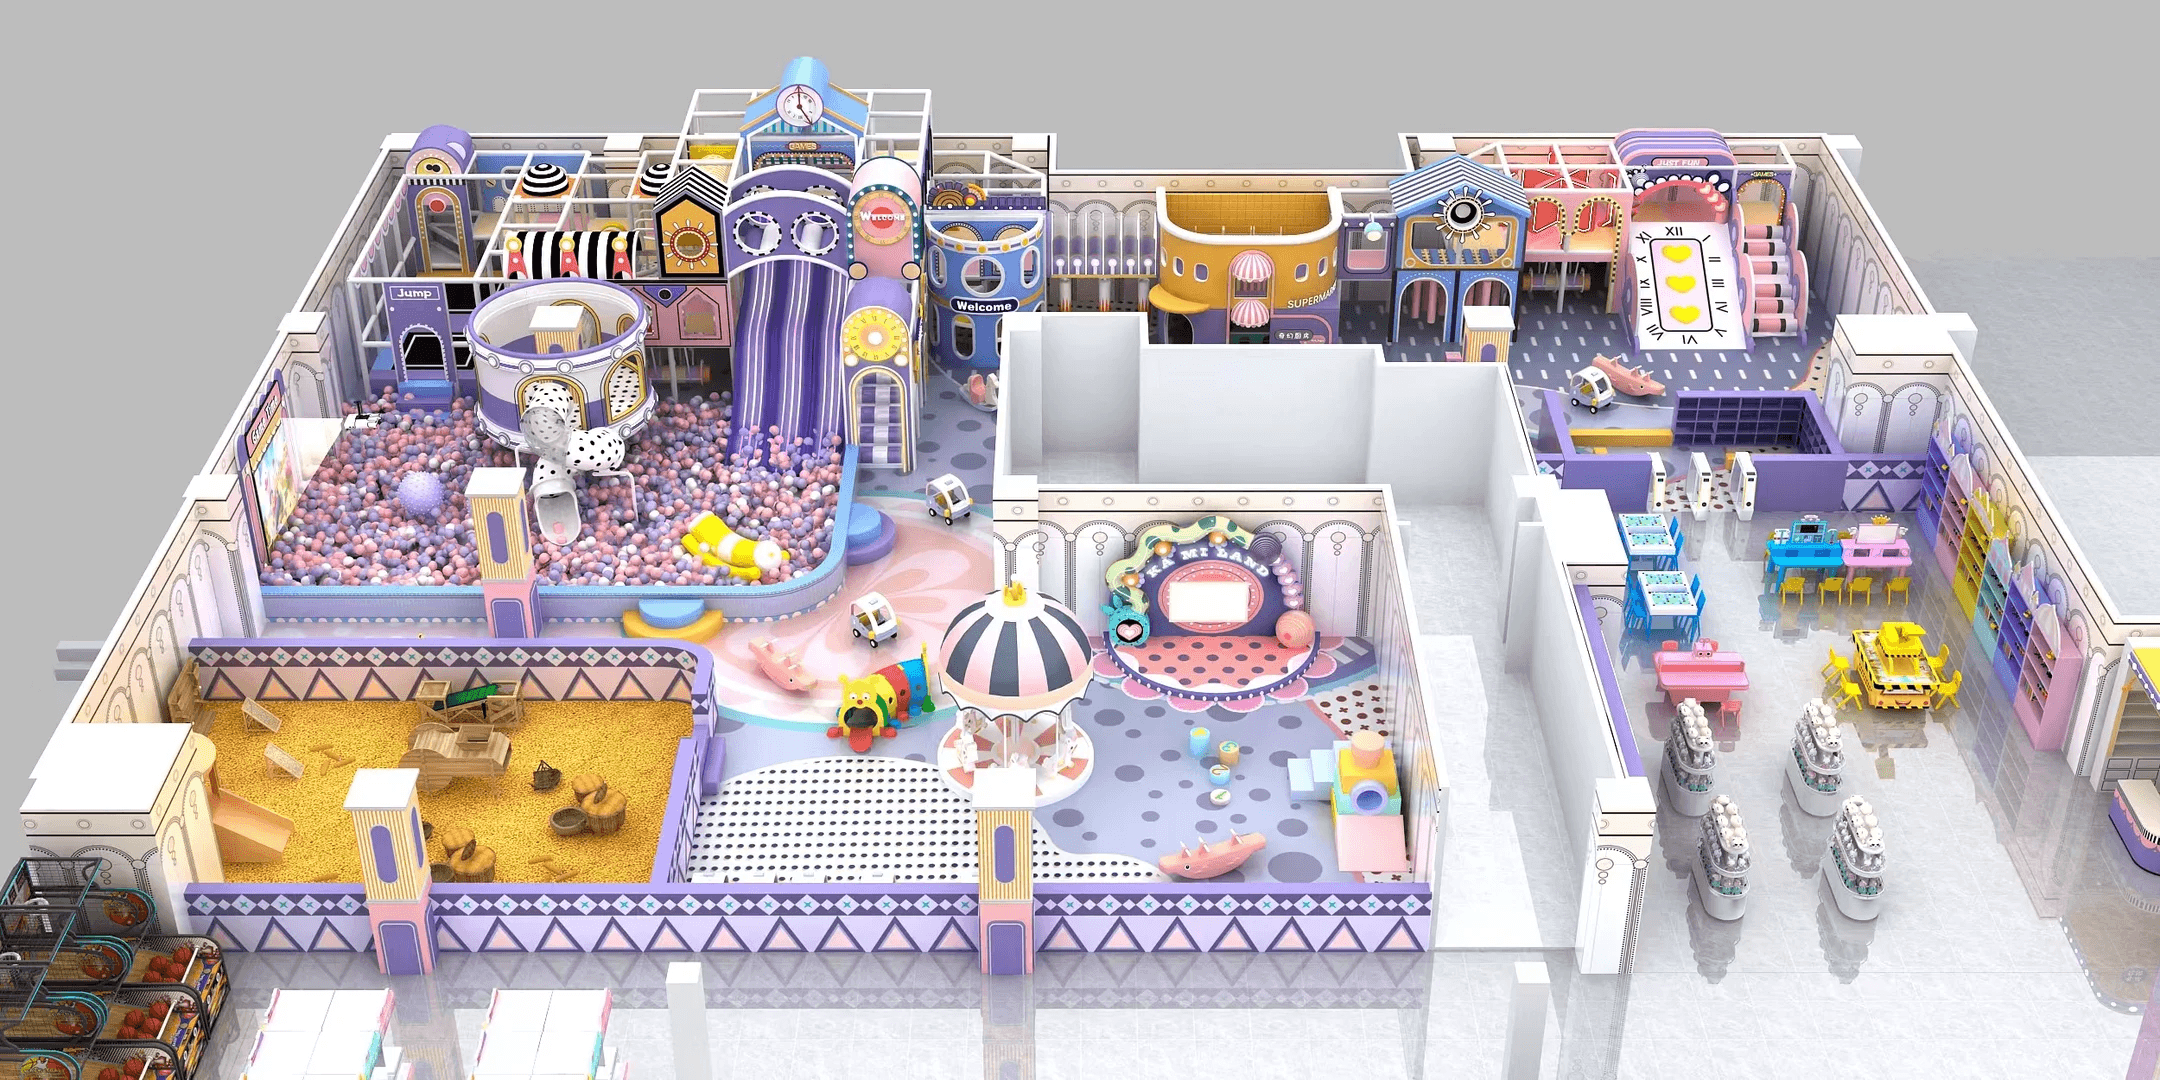
Step 2: Plan Zones for Safety & Engagement
One of the most critical aspects of indoor playground space planning is zoning. Well-defined zones prevent overcrowding, reduce safety risks, and ensure all kids have a place to play comfortably. Here are the key zones to include, along with tips for planning each one:
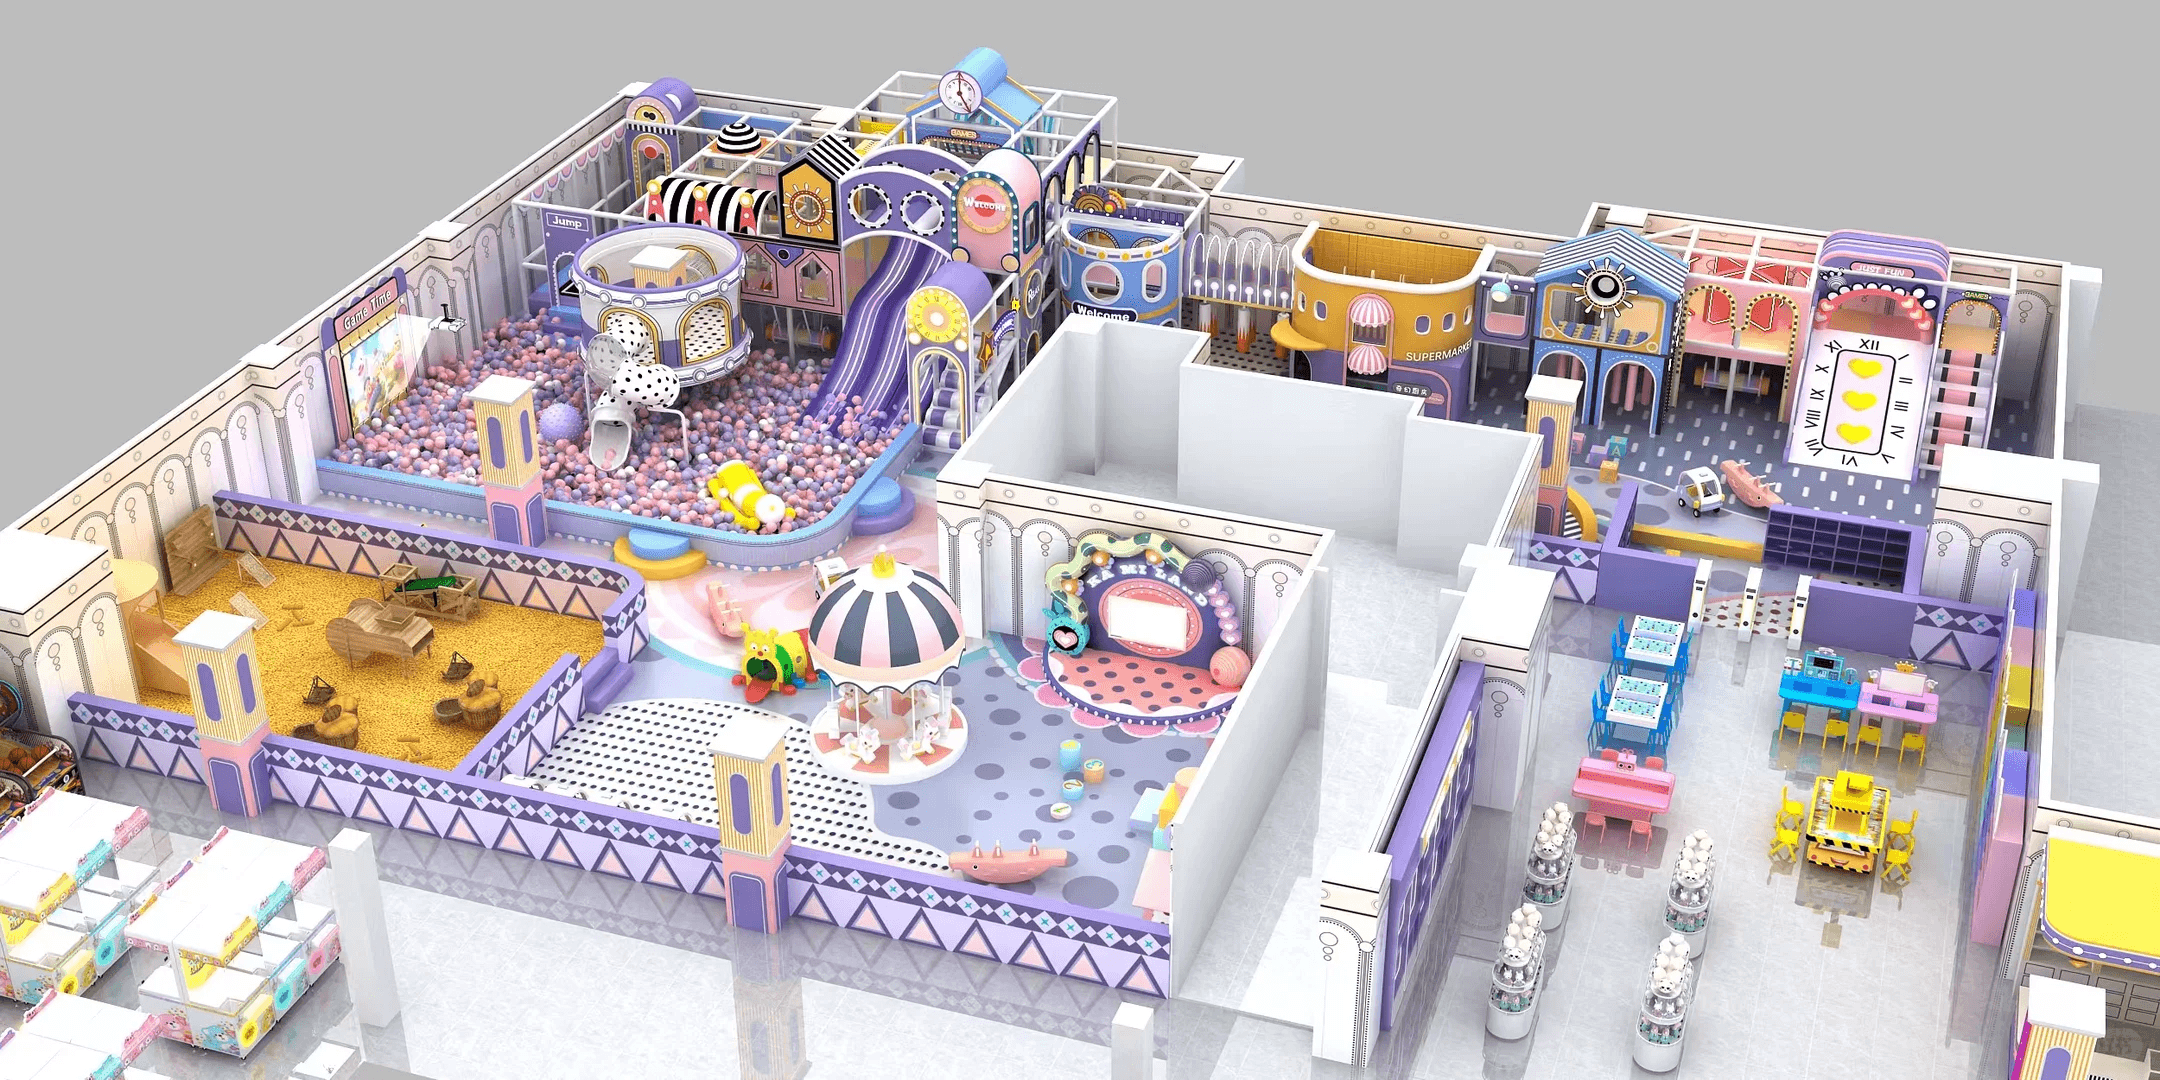
Age-Appropriate Play Zones
The number one rule for zoning is to separate kids by age. Mixing toddlers and older kids is a safety hazard—toddlers are more vulnerable to being knocked over, and older kids may feel restricted by smaller equipment. Aim for at least two main zones:
-
Toddler Zone (0–3 years) : Keep this area small, enclosed, and filled with soft, low-to-the-ground equipment. Include items like padded mats, small ball pits, mini slides, and sensory play tables. The height of equipment should not exceed 3 feet (0.9 meters) to minimize fall risks. Add a gate to keep toddlers from wandering into other zones.
-
Preschool/Young Kid Zone (4–6 years) : This zone can include larger slides, climbing structures, balance beams, and a larger ball pit. Equipment height can go up to 5 feet (1.5 meters), but always ensure there’s adequate padding underneath. Leave plenty of open space for running and playing to prevent collisions.
-
Older Kid Zone (7–12 years, optional) : If your space allows, add a zone for older kids with more challenging equipment, such as obstacle courses, climbing walls, or zip lines. This zone should be separate from younger kids and have higher safety standards (e.g., thicker padding, sturdier equipment).
Parent & Waiting Zone
Parents and caregivers need a comfortable place to watch their kids while they play. Allocate a dedicated area with seating (chairs, couches, or benches), tables for snacks or work, and clear sightlines to all play zones. If space allows, add a small café or vending area—this can be a revenue stream for commercial spaces and a convenience for families. Ensure the parent zone is quiet enough to relax but still close enough to monitor kids easily.
Storage & Utility Zones
Don’t overlook storage—indoor playgrounds require space for extra padding, replacement parts, cleaning supplies, and lost-and-found items. Design a closed storage closet or cabinet near the entrance or in a back corner to keep these items organized and out of sight. You’ll also need to plan for utility access, such as electrical outlets for cleaning equipment or vending machines, and ensure emergency exits are unobstructed.
Sensory & Quiet Zones (Optional but Recommended)
Not all kids thrive in loud, active environments. Add a small sensory or quiet zone for kids who need a break from the chaos. This can include bean bags, sensory bins, books, or calm lighting. This zone is especially helpful for kids with sensory processing needs and will make your playground more inclusive.
Step 3: Prioritize Safety in Every Aspect
Safety is non-negotiable in indoor playground design. Even the best layout won’t matter if your space isn’t safe for kids. Here are key safety considerations to integrate into your space planning:
Padding & Flooring
All play zones should have shock-absorbent flooring to cushion falls. Use commercial-grade foam padding (at least 2 inches thick) or rubber flooring, especially under slides, climbing structures, and ball pits. Ensure padding covers the entire play area, including around equipment, and that there are no gaps or loose edges that could cause trips.
Clear Pathways & Exit Routes
Leave wide, unobstructed pathways between zones to prevent overcrowding and make it easy for parents and staff to move around. Emergency exits should be clearly marked, and pathways to exits should never be blocked by equipment. Aim for pathways that are at least 3 feet (0.9 meters) wide to allow for easy movement.
Equipment Spacing
Don’t overcrowd the space with too much equipment. Leave at least 3–4 feet of space between large equipment (like slides and climbing structures) to prevent collisions. Avoid placing equipment near walls, columns, or windows, as kids could bump into these hard surfaces. Also, ensure equipment is anchored securely to the floor or wall to prevent tipping.
Compliance with Safety Standards
For commercial indoor playgrounds, familiarize yourself with local safety standards and regulations. This may include requirements for equipment height, padding thickness, emergency exits, and accessibility (e.g., ramps for kids with disabilities). Following these standards not only keeps kids safe but also protects your business from liability.
Step 4: Optimize Flow & Accessibility
A well-planned indoor playground should have a natural flow that guides visitors through the space without confusion. Here’s how to optimize flow:
-
Entrance & Exit : Design a clear entrance where parents can check in, remove shoes (if required), and store belongings. The exit should be separate from the entrance to avoid congestion. Consider adding a coat rack or cubbies near the entrance for convenience.
-
Traffic Flow : Arrange zones so that there’s a logical path from the entrance to the play zones, parent area, and restrooms. Avoid creating bottlenecks (e.g., narrow pathways between popular equipment) that can cause overcrowding.
-
Accessibility : Ensure your playground is accessible to all kids, including those with disabilities. Add ramps for wheelchairs, wide pathways, and sensory-friendly equipment. This not only makes your space more inclusive but also expands your customer base.

Step 5: Choose Equipment Wisely
Equipment is the heart of your indoor playground, but choosing the right pieces depends on your space, target audience, and budget. Here are tips for selecting equipment that fits your space plan:
-
Size & Scale : Choose equipment that fits your space without overcrowding. Measure twice before purchasing—even a small slide can take up more space than you think. For smaller spaces, opt for multi-purpose equipment (e.g., a climbing structure that includes a slide and tunnel) to maximize play value without wasting space.
-
Durability & Maintenance : Invest in high-quality, commercial-grade equipment that can withstand heavy use. Look for equipment made from non-toxic, easy-to-clean materials (e.g., vinyl, plastic) that won’t tear or fade over time. This will save you money in the long run on replacements and maintenance.
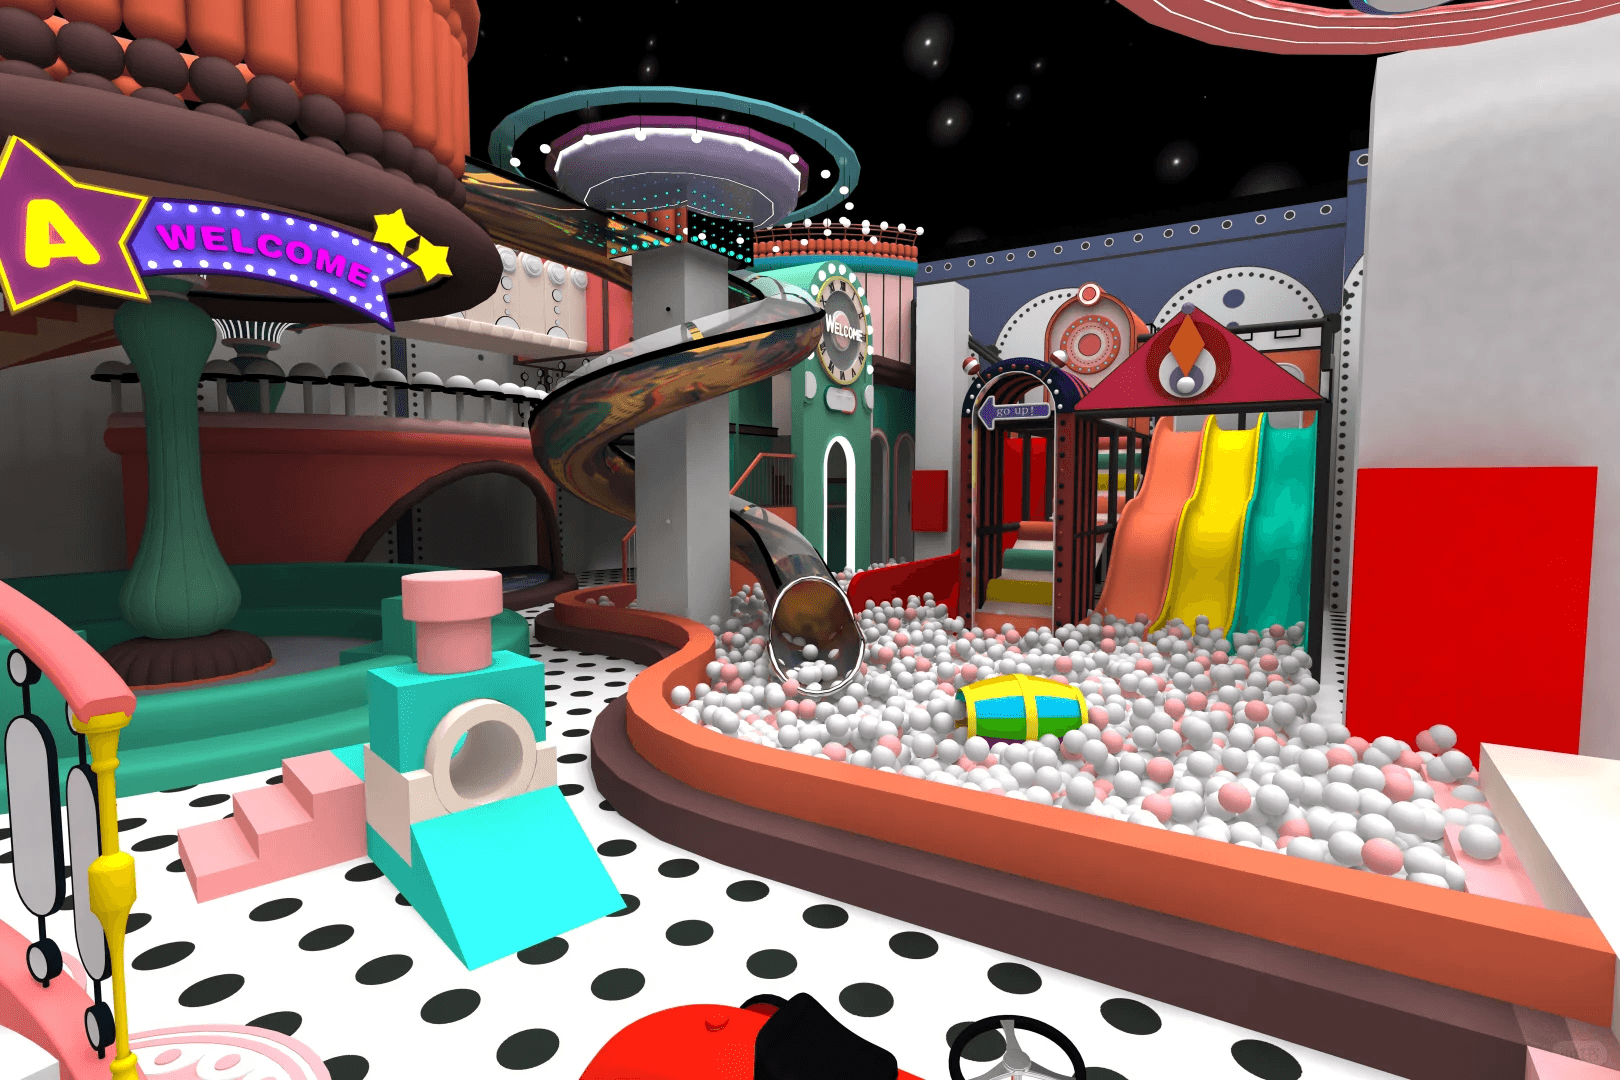
-
Theme & Engagement : While safety and functionality are key, a fun theme can make your playground more memorable. Choose a theme that appeals to your target audience (e.g., jungle, space, ocean) and integrate it into your equipment and decor. This will keep kids coming back and encourage word-of-mouth referrals.
Step 6: Finalize & Test Your Layout
Once you’ve planned your zones, chosen your equipment, and mapped out the layout, it’s time to finalize and test. Create a floor plan (use free tools like Canva or SketchUp) to visualize the space and make adjustments before purchasing equipment. If possible, mark out the zones on the floor with tape to get a sense of spacing and flow.
After setting up the playground, test it out! Bring in a few kids (or family members) to play and observe how they move through the space. Are there any bottlenecks? Is the equipment easy to access? Are the safety measures effective? Use this feedback to make final adjustments and ensure your indoor playground is the best it can be.
Final Thoughts on Indoor Playground Space Planning
Effective space planning is the key to creating an indoor playground that’s safe, fun, and successful. By assessing your space, defining your goals, zoning strategically, prioritizing safety, and optimizing flow, you can design a space that kids love and parents trust. Remember, there’s no one-size-fits-all approach—your playground should reflect your target audience and goals. With this guide, you have all the tools you need to plan a space that will be enjoyed for years to come.
Whether you’re a first-time playground owner or a seasoned designer, taking the time to plan carefully will save you time, money, and stress in the long run. Now go create a space where kids can laugh, explore, and make memories—safely!